Iron

iron

Sealing a JSON object using symmetric key encryption.

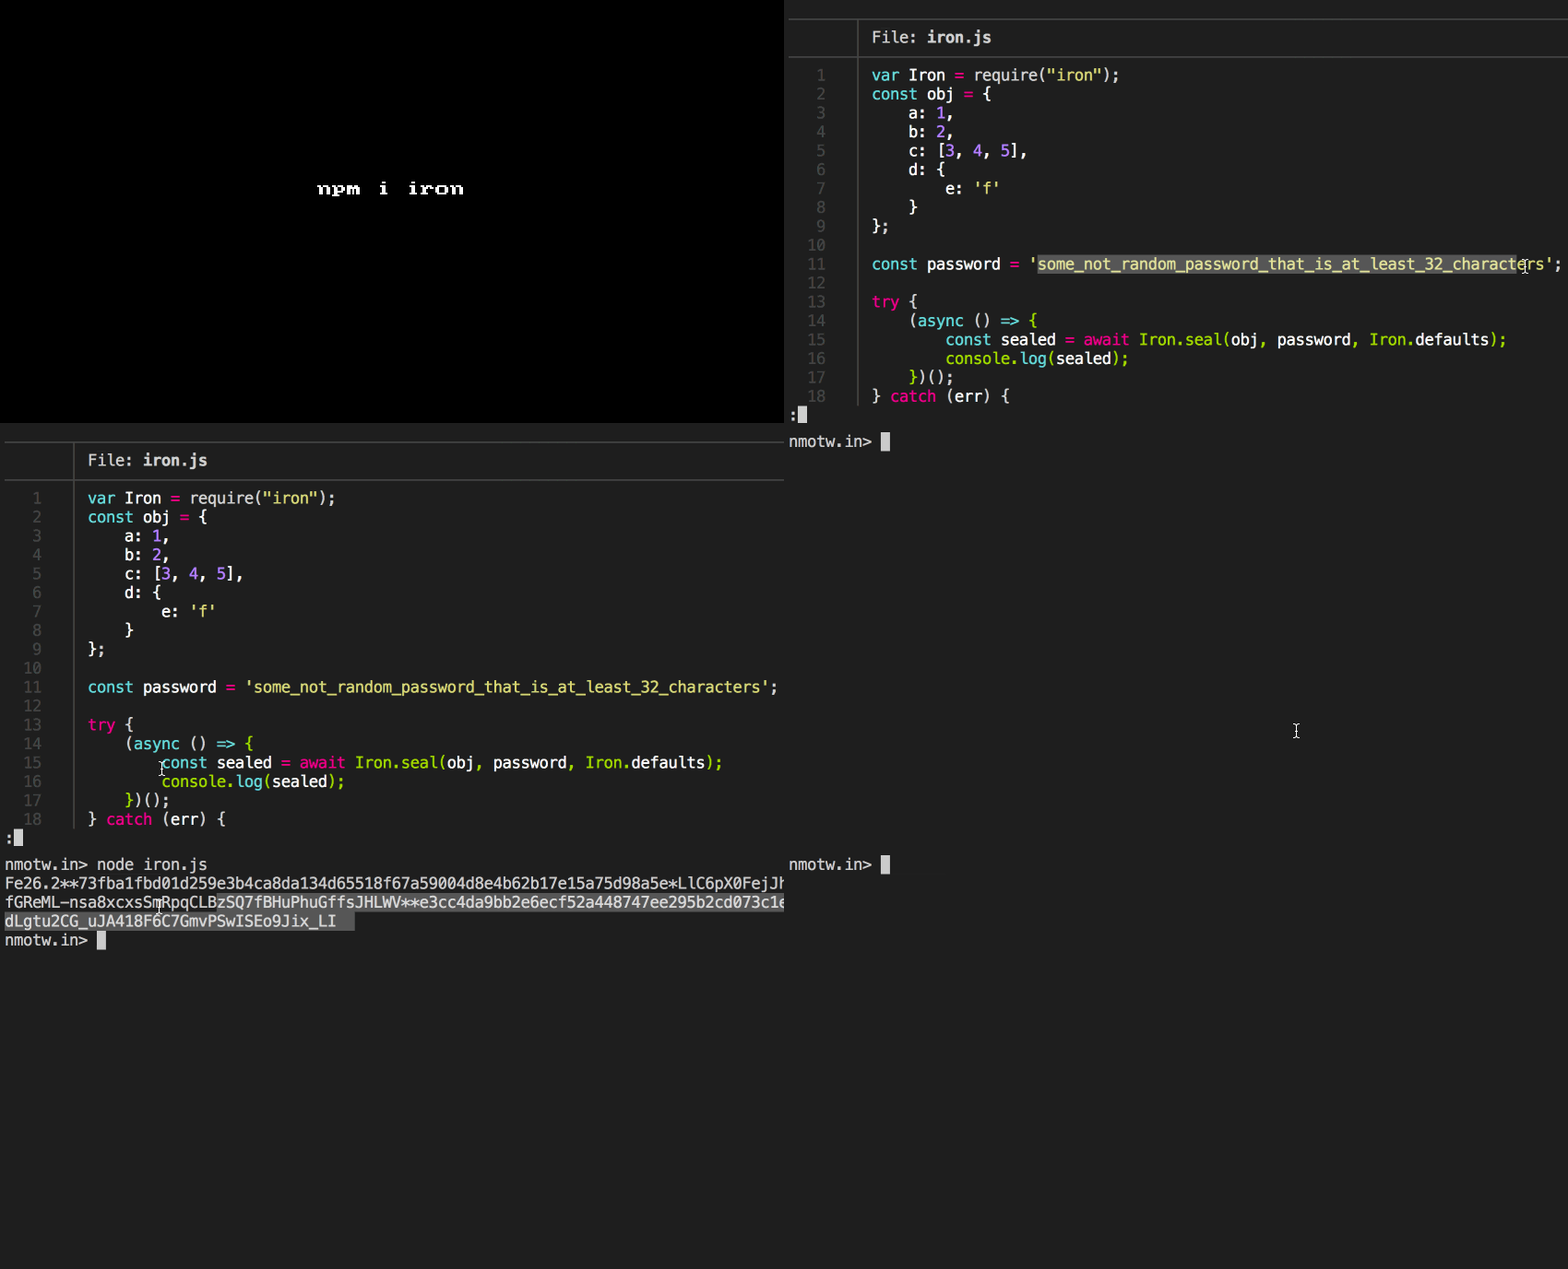
iron provide a neat way to seal a JSON object using symmetric key encryption with message integrity verification!

Get it: npm install iron

Sample usage:

1
2
3
4
5
6
7
8
9
10
11
12
13
14
15
16
17
18
19
20
21
22
23
//Encrypt 

const Iron = require("iron");

const obj = {
    a: 1,
    b: 2,
    c: [3, 4, 5],
    d: {
        e: 'f'
    }
};

const password = 'some_not_random_password_that_is_at_least_32_characters';

try {
    (async () => {
        const sealed = await Iron.seal(obj, password, Iron.defaults);
        console.log(sealed);
    })();
} catch (err) {
    console.log(err.message);
}
1
2
3
4
5
6
7
8
// Decrypt
try {
    (async () => {
        const unsealed = await Iron.unseal(sealed, password, Iron.defaults);
    })();
} catch (err) {
    console.log(err.message);
}

GIF FTW!

iron

Intl-tel-input

intl-tel-input

International Telephone Input

Eentering and validating international telephone numbers made easy with intl-tel-input.

It adds a flag dropdown to any input, detects the user's country, displays a relevant placeholder and provides formatting/validation methods!

Get it: npm i intl-tel-input

Sample usage:

1
<input type="tel" id="phone">
1
2
3
4
require("node_modules/intl-tel-input/src/css/intlTelInput.css");
const intlTelInput = require("intl-tel-input");
const input = document.querySelector("#phone");
intlTelInput(input);

GIF FTW!

intl-tel-input

@glorious/demo

@glorious/demo

The easiest way to demonstrate your code in action.

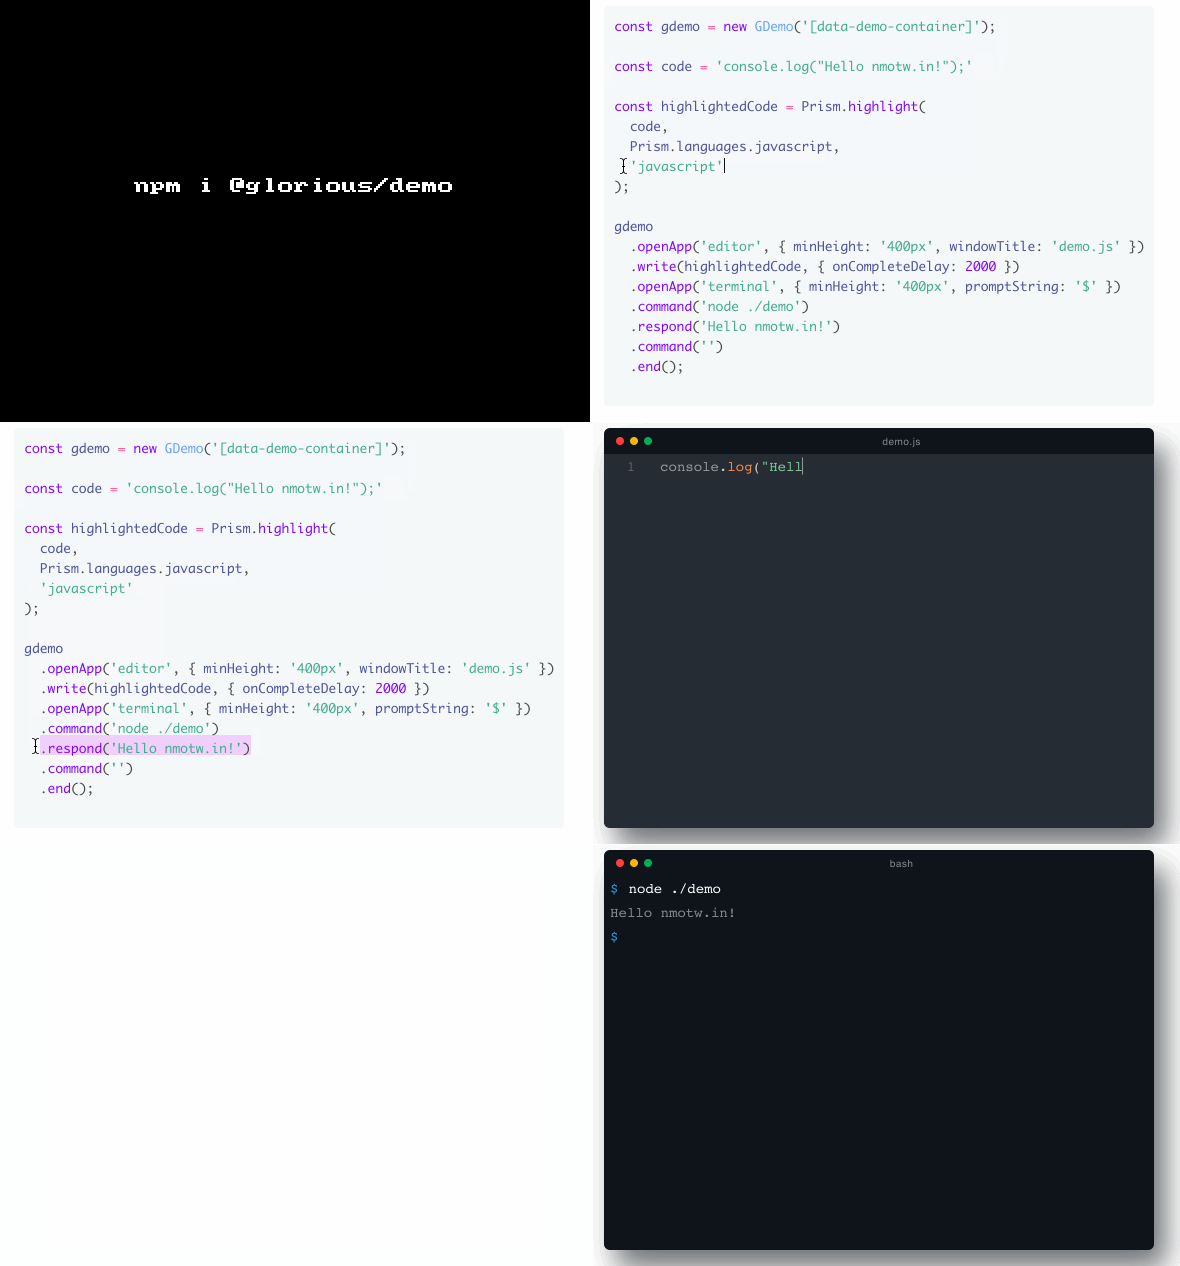
@glorious/demo a uniq node module that helps in demonstrating your code in action!

Get it: npm install @glorious/demo --save

Sample usage:

1
2
3
4
5
6
7
8
9
10
11
12
13
14
15
16
17
18
19
20
21
import '@glorious/demo/gdemo.min.css';
import GDemo from '@glorious/demo';

const demo = new GDemo('#container');

const code = `
function greet(){
  console.log("Hello World!");
}

greet();
`

demo
  .openApp('editor', {minHeight: '350px', windowTitle: 'demo.js'})
  .write(code, {onCompleteDelay: 1500})
  .openApp('terminal', {minHeight: '350px', promptString: '$'})
  .command('node ./demo', {onCompleteDelay: 500})
  .respond('Hello World!')
  .command('')
  .end();

P.S: Don't miss to playaround with the demo.

GIF FTW!

@glorious/demo

Animate-css-grid

animate-css-gird

Easy transitions for CSS Grid.

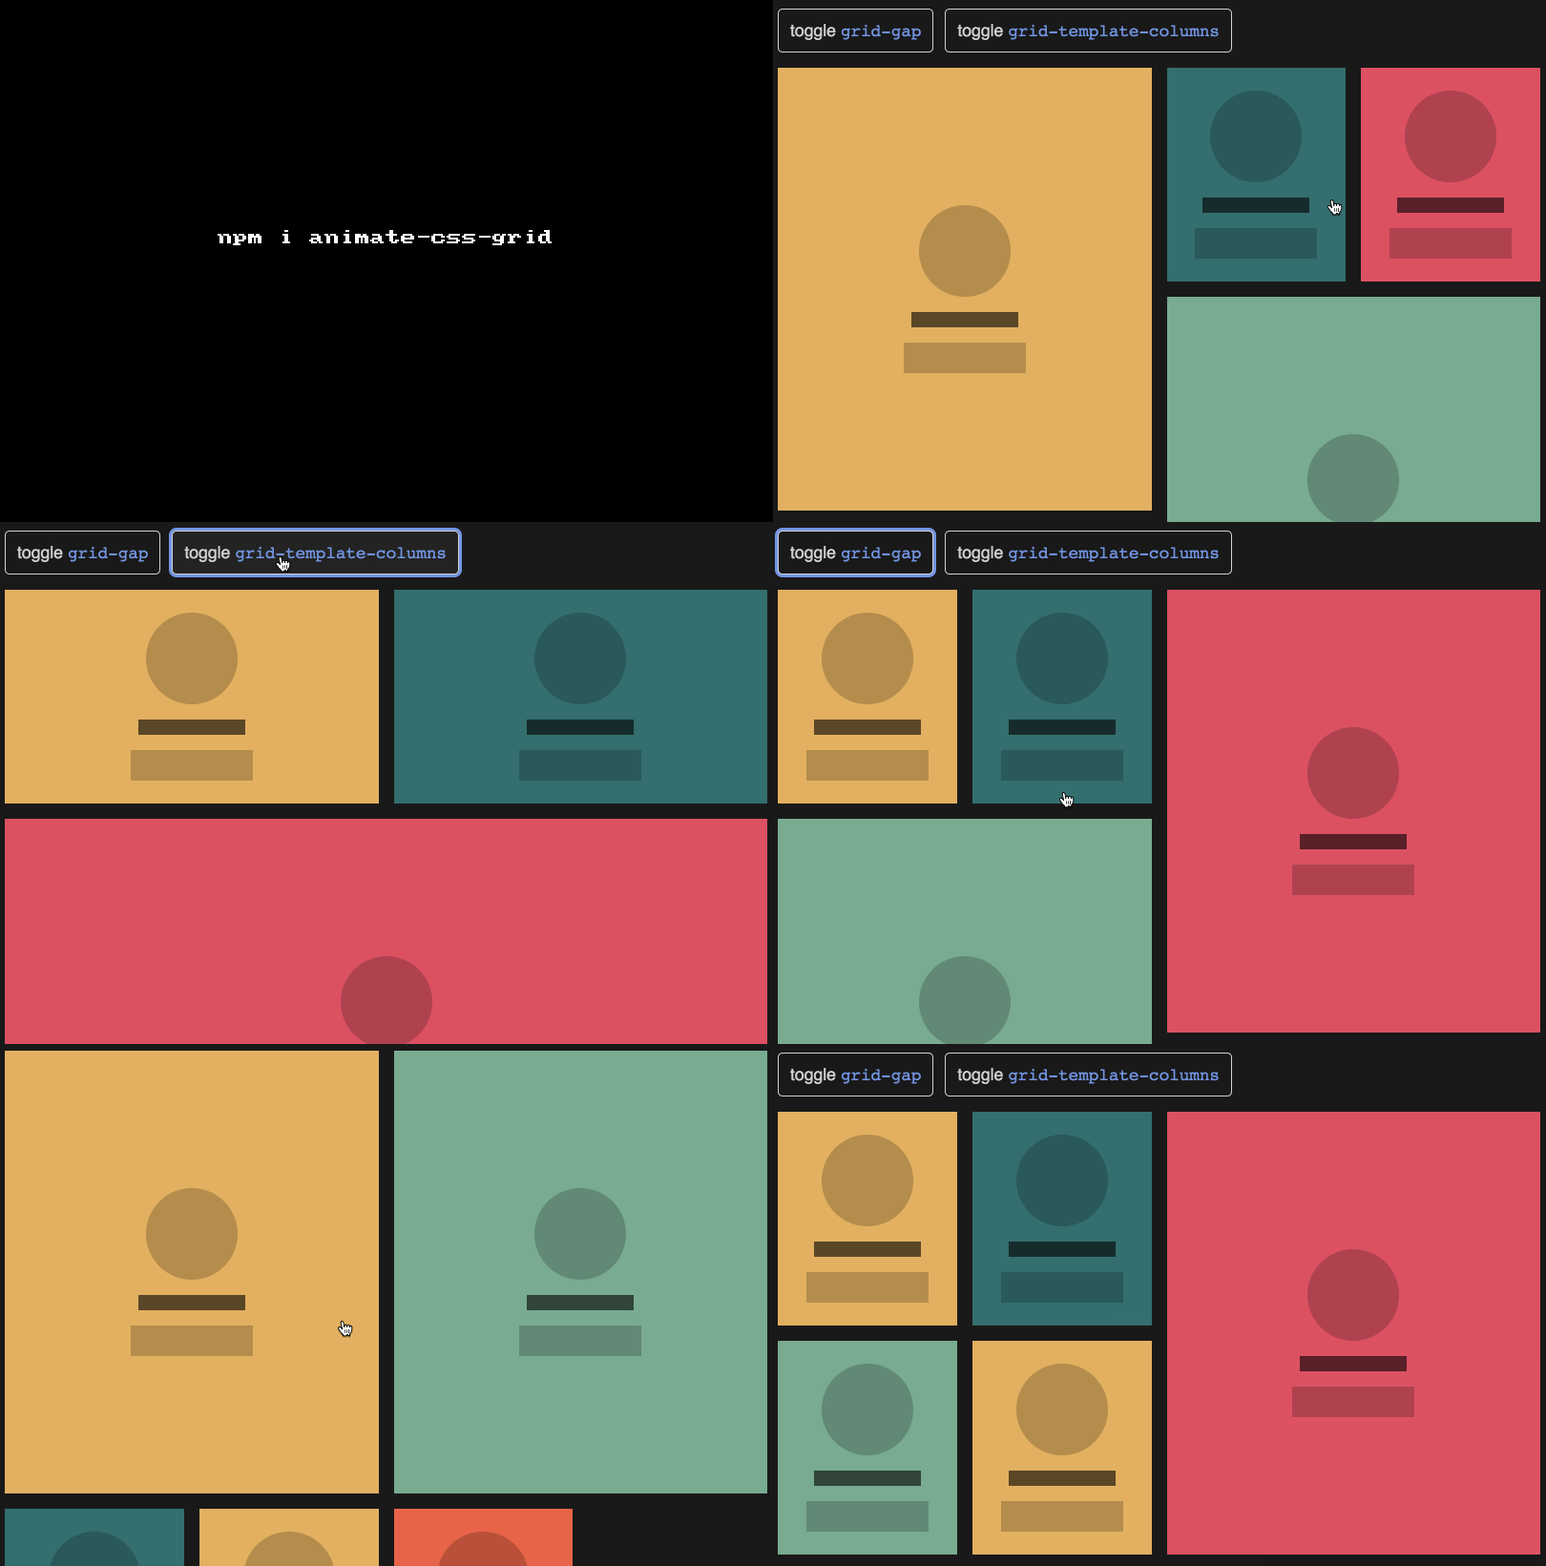
FLIP animation applied on CSS grids with the help of MutationObserver that activates when the grid or one of its children adds or loses a class or element.

Get it: npm install animate-css-grid

Sample usage:

1
2
3
4
5
6
7
8
9
10
11
12
13
import { wrapGrid } from animateCSSGrid

const grid = document.querySelector(".grid");
const config = {
  // int: default is 0 ms
  stagger: 100,
  // int: default is 250 ms
  duration: 500
  // string: default is 'easeInOut'
  easing: 'backInOut'
};

wrapGrid(grid, config);
1
2
3
4
5
6
7
8
9
10
<!-- grid style applied via a class -->
<ul class="some-grid-class-that-changes">
  <!-- each grid item has a single direct child -->
  <li class="grid-item">
    <div>
      <h3>Item title</h3>
      <div>Item body</div>
    </div>
  </li>
<div>

Check out the DEMO!

GIF FTW!

animate-css-grid

Progress-estimator

progress-estimator

Progress bar and estimation for Promise compilation.

progress-estimator logs a progress bar and estimation for how long a Promise will take to complete.

It tracks previous durations in order to provide more accurate estimates over time!

Get it: npm install progress-estimator

Sample usage:

1
2
3
4
5
6
7
8
9
10
11
12
13
14
15
16
17
18
const createLogger = require('progress-estimator');

// All configuration keys are optional, but it's recommended to specify a storage location.
// Learn more about configuration options below.
const logger = createLogger({
  storagePath: join(__dirname, '.progress-estimator'),
});

async function run() {
  await logger(promiseOne, "This is a promise");
  await logger(
    promiseTwo,
    "This is another promise. I think it will take about 1 second",
    {
      estimate: 1000
    }
  );
}

GIF FTW!

progress-estimator

Query-state

query-state

Application state in query string.

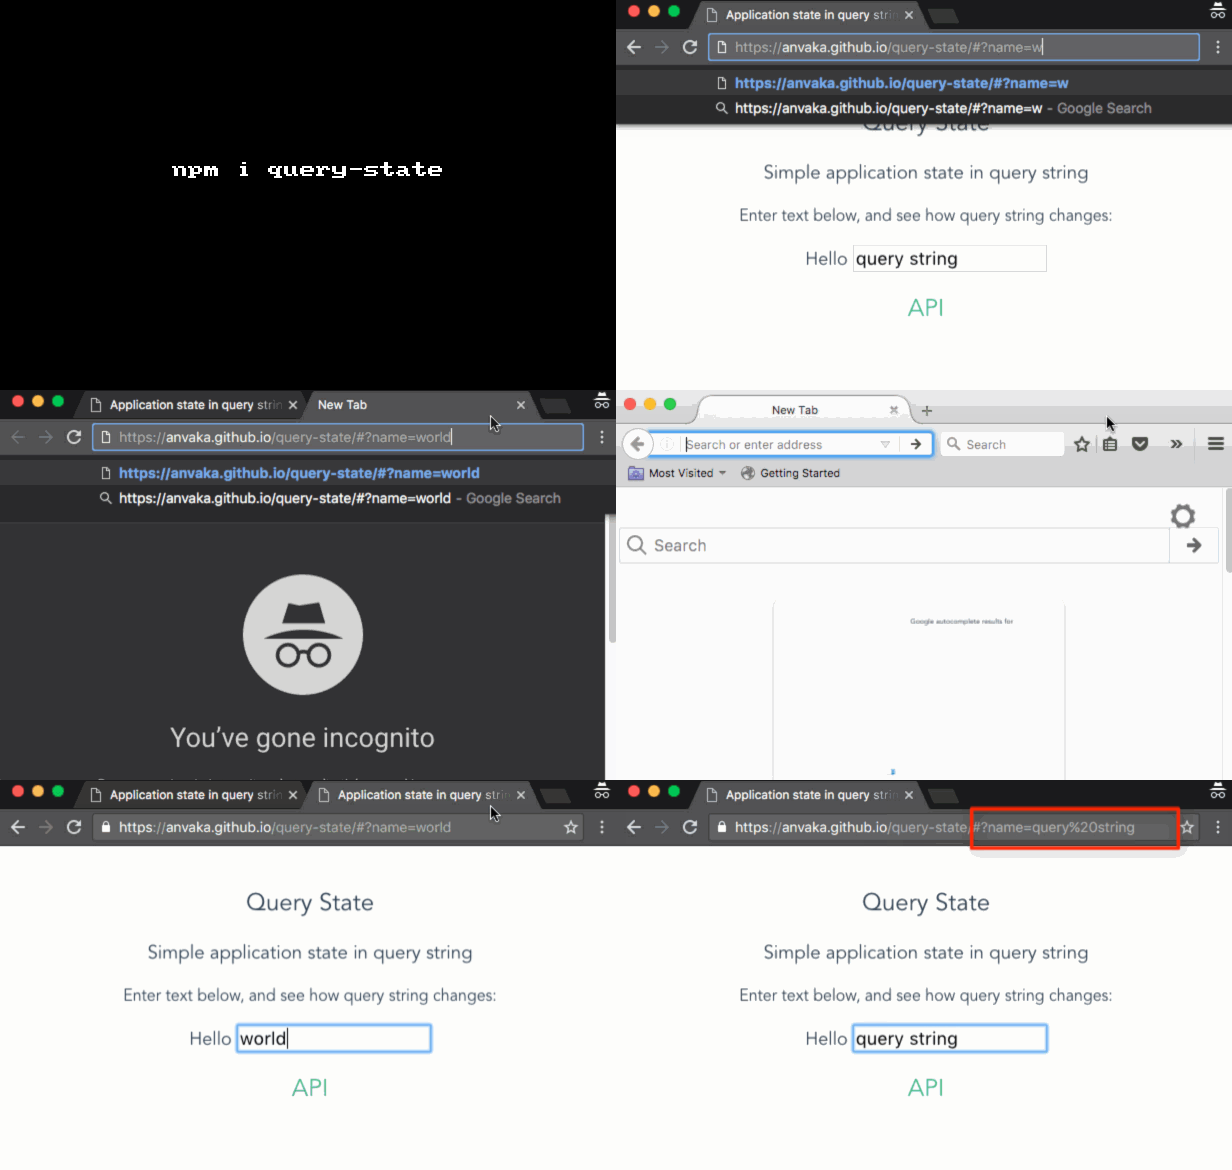
query-state is a cheeky module that uses history API and encodeURIComponent magic to maintain the application state in the query string.

Get it: npm install query-state

Sample usage:

1
2
3
4
5
6
7
8
9
10
11
12
13
14
15
16
17
18
19
20
21
22
23
24
25
26
27
28
const queryState = require('query-state');

// create a new query state instance
const qs = queryState();

// get current application state from the hash string:
const appState = qs.get();

// you can also monitor for changes in the query string:
qs.onChange(function(appState) {
  // prints new application state on each hash update
  console.log('app state changed!', appState);
});

// If you want to set a new value in the app state:
qs.set('answer', 42);

// Now the query string will have `answer=42` part in it.
console.log(window.location.hash.indexOf('answer=42')) // prints value > 0.

// You can also set multiple values at once:
qs.set({
  name: 'Haddaway',
  song: 'What is love?'
});

// NOTE: The call above merges new properties. It appends two new properties to 
// the current query string

GIF FTW!

query-state

Fx

fx

CLI JSON processing tool

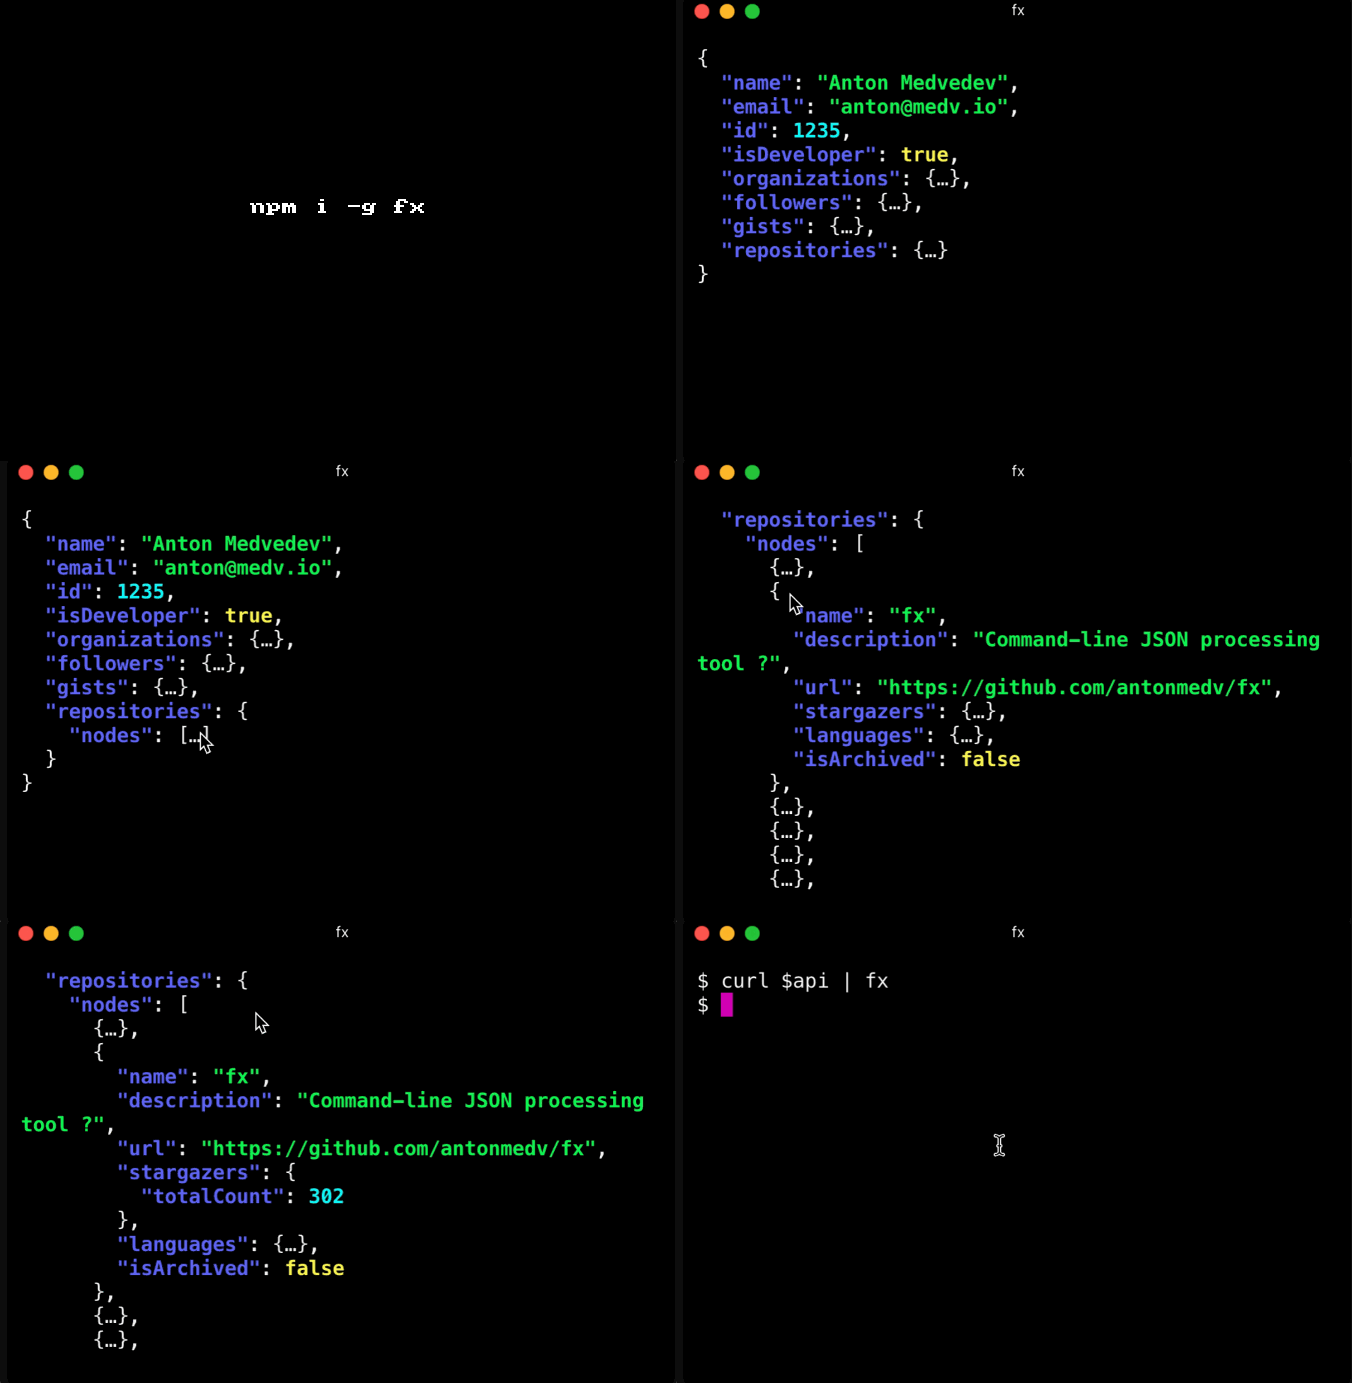
fx is one of a kind JSON processing tool, that provides:

  • Don't need to learn new syntax
  • Plain JavaScript
  • Formatting and highlighting
  • Standalone binary
  • Interactive mode 🎉

Get it: npm install -g fx

Sample usage:

1
echo '{...}' | fx [code ...]
1
echo '{"foo": [{"bar": "value"}]}' | fx 'x => x.foo[0].bar'
1
2
3
4
$ echo '{"count": 0}' | fx '{...this, count: 1}'
{
  "count": 1
}

GIF FTW!

fx

Is-vegan

is-vegan

Find out which food ingredients are vegan / non-vegan.

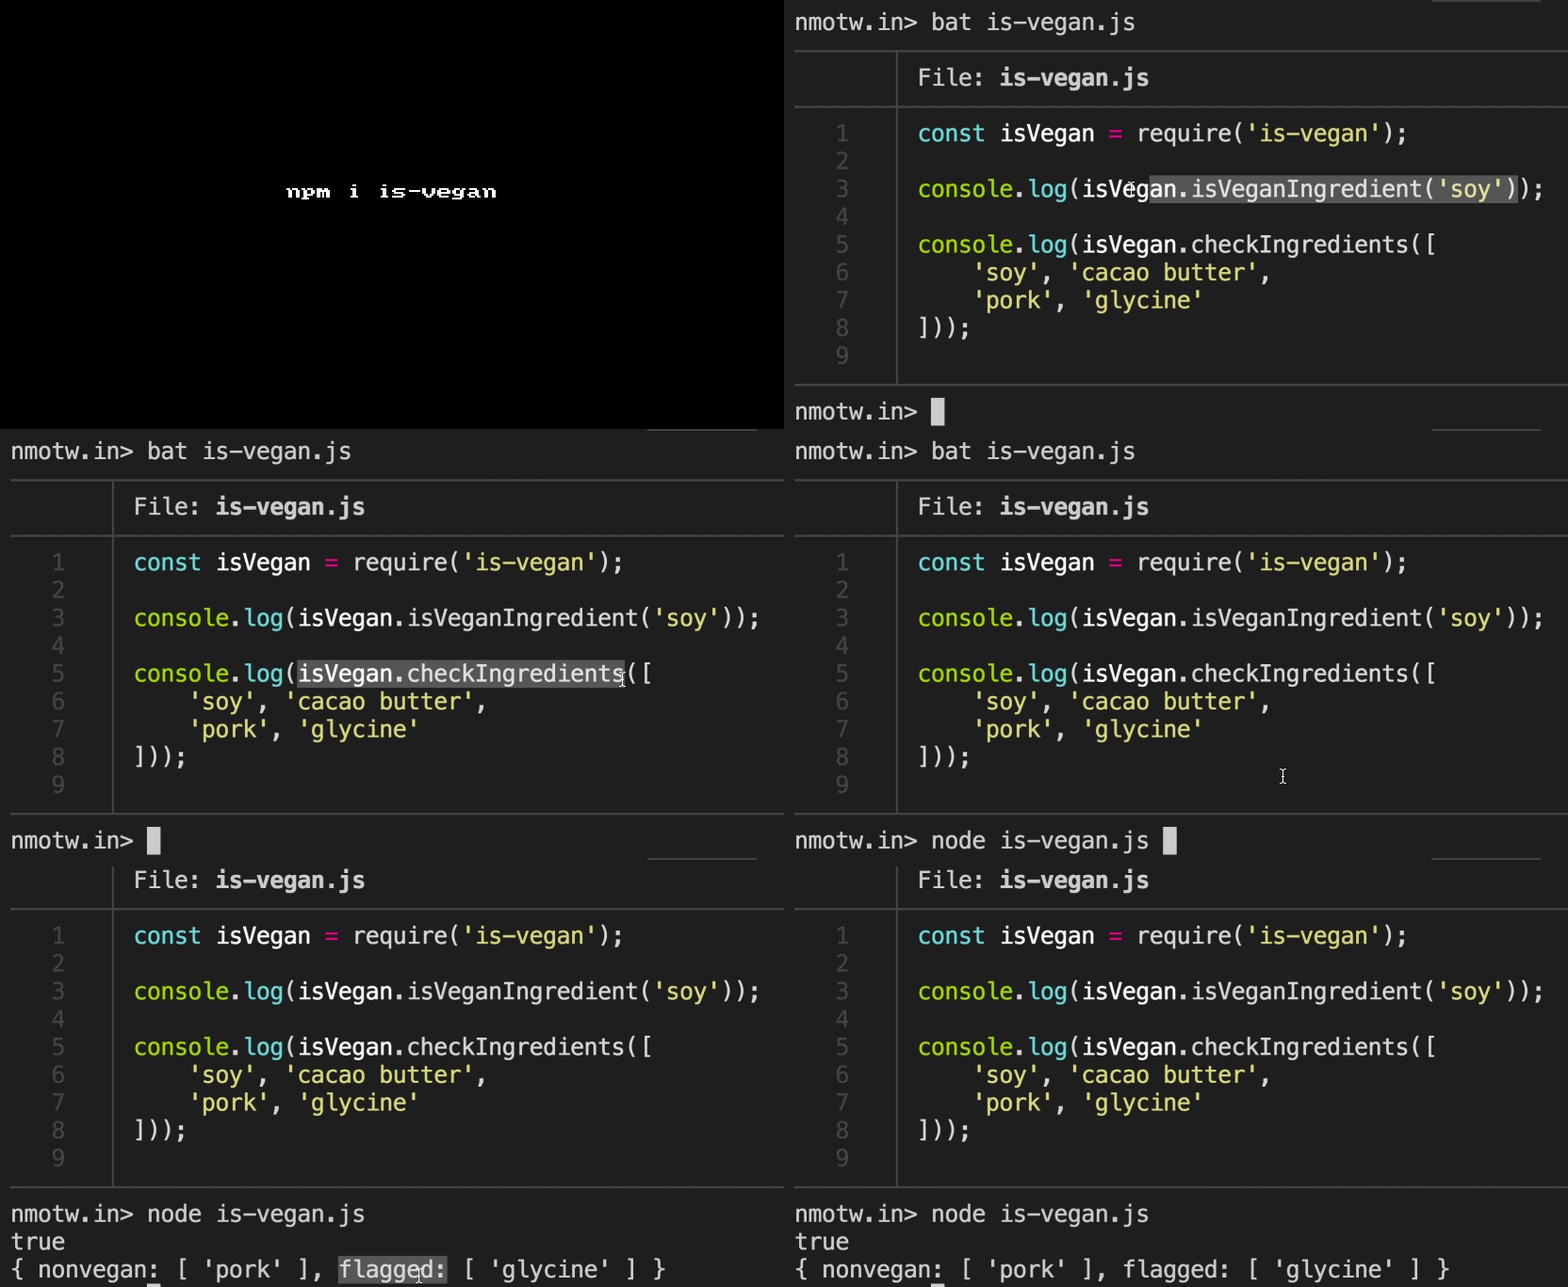
If you are vegan you would understand the challenge of staying a vegan, this module helps you to find out which food ingredients are vegan / non-vegan. It can answer that on 1 ingredient or on a list of ingredients. It uses a 850+ entries list of non-vegan ingredients.

It basically had parsed the information from the below sites into a JSON file.

  • veganpeace
  • peta
  • veganwolf

P.S: I can be cool to use this as a API and build an app, that would scan the ingeratients and let one know if it's vegan or not!

Get it: npm install is-vegan

Sample usage:

1
2
3
4
5
6
7
8
9
10
11
12
13
14
15
16
17
const isVegan = require('is-vegan');

// example for single ingredient
isVegan.isVeganIngredient('soy'); // true
isVegan.isVeganIngredient('milk'); // false

// example for list of ingredients
isVegan.isVeganIngredientList(['aspic', 'albumin']); // false
isVegan.isVeganIngredientList(['soy', 'cacao butter']); // true

// example for list of ingredients wich contain flagged and non-vegan ingredients
isVegan.checkIngredients(['soy', 'cacao butter', 'pork', 'glycine']);
// returns
// {
//   nonvegan: ['pork', 'beef'],
//   flagged: ['glycine']
// }

GIF FTW!

is-vegan

Errno

errno

Better libuv error handling & reporting.

🐴 said: Ever find yourself needing more details about Node.js errors? Me too, so node-errno contains the errno mappings direct from libuv so you can use them in your code.

By errno:

1
2
3
4
5
6
require('errno').errno[3]
// → {
//     "errno": 3,
//     "code": "EACCES",
//     "description": "permission denied"
//   }

By code:

1
2
3
4
5
6
require('errno').code.ENOTEMPTY
// → {
//     "errno": 53,
//     "code": "ENOTEMPTY",
//     "description": "directory not empty"
//   }

Make your errors more descriptive:

1
2
3
4
5
6
7
8
9
10
11
12
13
14
15
16
17
18
19
20
21
22
23
var errno = require('errno')

function errmsg(err) {
  var str = 'Error: '
  // if it's a libuv error then get the description from errno
  if (errno.errno[err.errno])
    str += errno.errno[err.errno].description
  else
    str += err.message

  // if it's a `fs` error then it'll have a 'path' property
  if (err.path)
    str += ' [' + err.path + ']'

  return str
}

var fs = require('fs')

fs.readFile('thisisnotarealfile.txt', function (err, data) {
  if (err)
    console.log(errmsg(err))
})

Use as a command line tool:

1
2
3
4
5
6
7
8
9
10
11
12
13
14
~ $ errno 53
{
  "errno": 53,
  "code": "ENOTEMPTY",
  "description": "directory not empty"
}
~ $ errno EROFS
{
  "errno": 56,
  "code": "EROFS",
  "description": "read-only file system"
}
~ $ errno foo
No such errno/code: "foo"

P.S: You can also create custom-erros.

GIF FTW!

errno

The-platform

the-platform

Browser API's turned into React Hooks and Suspense-friendly components.

the-platform is a uber fun module that has React Hooks and Suspense friendly componets, it provides the below:

Hooks:

1
2
3
4
5
6
7
8
9
useDeviceMotion()
useDeviceOrientation()
useGeoPosition()
useNetworkStatus()
useMedia()
useScript()
useStylesheet()
useWindowScrollPosition()
useWindowSize()

Components:

1
2
3
4
5
6
<Img>
<Script>
<Video>
<Audio>
<Preload>
<Stylesheet>

P.S: Looks like it's a pun on #useThePlatform none the less it's an intresting module.

Sample usage:

1
2
3
4
5
6
7
8
9
import { useGeoPosition } from 'the-platform';

const Example = () => {
  const {
    coords: { latitude, longitude },
  } = useGeoPosition();

  // ...
};
1
2
3
4
5
6
7
8
9
10
11
12
13
14
15
import React from 'react';
import { Img } from 'the-platform';

function App() {
  return (
    <div>
      <h1>Hello</h1>
      <React.Suspense maxDuration={300} fallback={'loading...'}>
        <Img src="https://source.unsplash.com/random/4000x2000" />
      </React.Suspense>
    </div>
  );
}

export default App;

GIT FTW!